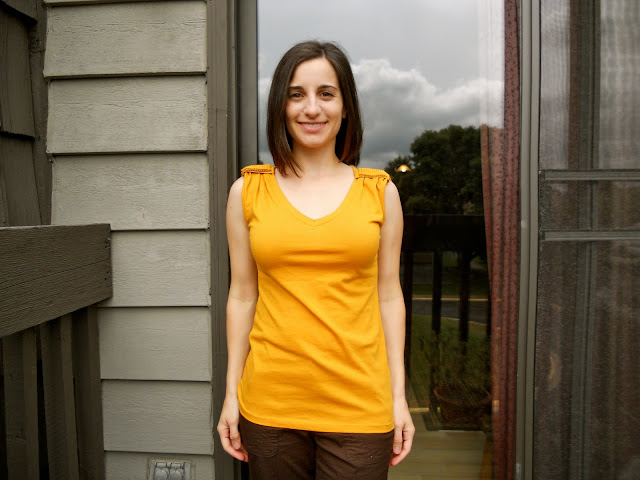
I have been looking to get in on the mustard color trend this fall, and was so excited to come across this shirt today. I stopped in at Ann Taylor first, and to be honest, I was a little disappointed with their mustard color. It was a little too green for me. So, I stopped into Gap, just to see, and lo and behold, on the clearance rack was this shirt for under $8. I snatched it up and tried it on, only to be disappointed yet again, but this time because it was too big in the shoulders. For all you petites out there, you know what this means: giant arm holes and a plunging neckline.
But wait! What if I took off the shoulder detail, brought up the shoulder, and then sewed it back together again? Could I make my mustard dreams come true? I figured it was too cheap and too perfect a color not to try. So, as soon as I got home, I put Luke down for a nap and got to work (Not one to want to be left out, he chattered until I came in about half an hour later. I found him standing up in his crib, grinning from ear to ear because he got me to come in, and pantless.)
Here are some before and after shots of the shirt:
This alteration actually turned out to be pretty simple since any mistakes I made or loose ends left undone would be hidden underneath the loop that formed the shoulder detail.
So, here is what I did:
First, I got out my trusty seam ripper and disconnected the shoulder detail, which was simply looped around and tacked on with just a few stitches.
Then, I slid it down to gain access to the seam, and did the same on the other side.
Then I turned it inside out and pinned it where I thought it would be best, and tried it on (right side out, of course).
After a second attempt, I got the pins where I wanted them, so it was time to sew. For this particular project, I only used the pins to test the fit, and then I took them out and eyeballed it based on their placement. I used brown thread for demonstration purposes (actually, I didn't have any mustard colored thread and figured that it wouldn't show anyway).
After cutting off the excess material, I simply tacked the shoulder detail loop back on the way it was before. And...that's it!
To take this method a step further, I wonder if I could take a shirt that is both too long and too big in the shoulders and do the same thing? I could cut off about an inch and a half from the bottom, take in the shoulder seam, and then loop the excess fabric from the bottom around the shoulder.
Hmm, we'll see... Let me know if any of you try it.
In the meantime, I am looking forward to pairing this shirt with navy, greens, and browns for fall. Maybe I will experiment with reds and oranges too.
Shirt: Gap (altered)
Thanks for reading!


Cute!!
ReplyDeleteAwesome job!!! I have a dress that needs to be taking up in the shoulders just slightly. But I can't even sew a button on so I'll have to get help from my MIL with that one :P
ReplyDeleteWhat a great buy! Good job and thanks for sharing!
ReplyDeletexoxo
http://preponderance-of-fashion.blogspot.com/